The Science of Microfoam: Mastering Milk Chemistry at Home

SIMPLETASTE Milk Frother, 4-in-1 Electric Automatic Milk Steamer
Why Microfoam Makes or Breaks a Latte
Walk up to a specialty counter and watch the pour. The difference between a flat, glassy latte and one crowned with velvety microfoam is not luck. Milk chemistry drives it. The tiny bubbles you see are not soap bubbles. They are pockets of air trapped inside a network of denatured protein, held firm at roughly 0.1 mm across, just long enough to pour, stack on top of the espresso, and stay smooth through the first few sips.
That is microfoam. Baristas talk about it as if it were a magic word, but it is really just controlled protein work. The trick at home is that you do not need a commercial steam wand to grasp the science. You need to know what the milk is doing, how to heat it without scalding, and which frothing tool directly builds the right texture. This guide walks through the science step by step, then maps it onto the handful of home frothers that produce a pour worthy of the effort.
The chemistry behind creamy milk
Milk is more than water and sugar. For every 100 milliliters of whole milk you will find roughly 8.7 g of water free solids, about 3.5 g of fat, and 3.2 g of protein. It is the protein that does the frothing. Casein, which makes up most of the milk protein, is water soluble and forms the bulk of the stable structure. Whey proteins, a smaller share of about 0.6 g per 100 ml, sit on the surface of the bubbles and are the ones that directly stabilize them. When you heat milk, the whey proteins unwind, or denature. That unfolding exposes binding sites that let the proteins line up along an air bubble and hold it shut.
Fat is the other half of the story. The droplets give microfoam its glossy, paint like finish and a thick, mouth coating feel. Too little fat and the foam is watery and collapses fast. Too much and the proteins cannot spread across the bubble surface quickly enough, so the foam turns coarse and heavy. Whole milk sits at the comfortable middle, which is why it froths so predictably.
Lactose, the milk sugar, does not build the foam. It only adds a faint sweetness and, if you overheat it, a caramel note. That is why over milk can still feel sweet even when the texture is ruined. The sugar is a flavor cue, not a structural one.
Temperature Is the Whole Game
The sweet spot for steaming is roughly 60 to 65 Celsius, or about 140 to 150 Fahrenheit. Below that range the whey proteins have not fully unfolded, so the bubbles stay large and thin. Above about 70 Celsius the proteins break down, the sugars begin to caramelize, and the drink tastes of cooked custard instead of fresh milk. That is the line between creamy and scorched.
A quick cheat sheet keeps the conversions straight.
- Cold foam, 4 to 10 Celsius, or 39 to 50 Fahrenheit: no denaturation happens, so you get bubble volume only.
- Sweet spot, 60 to 65 Celsius, or 140 to 150 Fahrenheit: this is where microfoam forms, glossy and stable.
- Scald line, 70 Celsius or above, or 158 Fahrenheit and up: proteins break down and the drink picks up a custard flavor.
That is the same temperature idea three ways. If your machine reads Celsius, the number to watch is 65. If it reads Fahrenheit, that is 140. Keep the milk under that number and the texture stays right.
A home frother earns its place right here. The whole point of an automatic steamer is that it holds the milk in that narrow window for you, then shuts itself off so you do not overshoot. That single feature is what separates a reliable pour at home from the burnt, rubbery milk you get when you leave a pot on the stove. The microfoam milk science all comes down to this one number, and a good machine does the timing for you.
How Plant Milk Changes the Equation
Plant milks behave differently because their protein and fat ratios are not the same as dairy. Oat milk froths best of the common alternatives because its higher carbohydrate content mimics some of the body that milk sugars and proteins give. Soy milk is protein rich, so it denatures and builds foam, but it can curdle at high temperatures, which is why you should keep it near the 60 Celsius mark. Whole dairy above 3% fat gives the richest foam; skim milk under 1% gives the thinnest. Almond and rice milks are thin, low protein, and low fat, so they tend to give a watery, fast collapsing foam.
The practical rule is simple. If a plant milk does not foam, add a few drops of a little fat, or blend it with a splash of dairy. The chemistry is the same. You are just balancing protein and fat so the bubbles have something to hold on to.
Frother Types and What Each One Directly Does
Handheld wands spin a small whisk into the liquid. They are cheap, portable, and great for a protein shake, but they whip in big, airy bubbles rather than the dense microfoam you want on a flat white. You have to do the tamping, the swirling, and the knocking by hand to collapse that foam into something glossy.
The jar style automatic steamer, the kind that plugs into a base, is where the science pays off. A good unit heats the milk to the right temperature and agitates it at a speed that pulls in just enough air. The machine does the chemistry for you. You pour the milk in, press a button, wait roughly 2 minutes, and get a pourable texture that holds. That is the category the SIMPLETASTE Milk Frother operates in, and it is the one most home baristas land on.
Dedicated steam wand attachments for kettles sit in between. They add a bit of steam power but still need the operator to time the pour, tilt the pitcher, and tap out the big bubbles. More control, more work, and more room to scald the milk if you drift past the temperature window.
Picking the Right Home Unit
When you compare the models that round out a home barista setup, three details matter more than any spec sheet will tell you.
The SIMPLETASTE Milk Frother, 4-in-1 Electric Automatic Milk Steamer (B0D9PVX9L6), is a 4 in 1 electric steamer that covers warm dense foam, warm airy foam, cold foam, and plain warming. It handles up to 300 milliliters for hot drinks and about 130 milliliters for a cappuccino sized froth, which is roughly one large serving. It shuts itself off when the milk is ready, which is the whole reason an automatic unit beats a stove top pot for temperature control. The non stick interior rinses clean in under a minute.

If you want a bigger pot and faster cycles, the Ecoflarix 350ml model (B0GWRN8ZKL) runs at 450 W and holds the milk in that 65 to 70 Celsius band on its own. Its 120 second cycle time and sub 55 dB motor make it quiet enough for an early morning routine. The trade off is size. A 350 milliliter jar is a commitment on a small counter.

For the minimalist who just wants a quick, portable whip, the Zulay Kitchen handheld wand (B082314NFL) is an $9 entry point. It spins at 13,000 RPM and works on dairy and most plant milks alike. You will never get the fine microfoam of a jar steamer from a wand, but it is the cheapest way to get a froth at all, and it doubles as an egg and sauce whisk. The microfoam milk science says the trade off is texture. A wand gives you volume, not the dense, paint like body that a flat white needs.
When Foam Goes Wrong
Foam that collapses fast usually means the milk was too cold or the fat content was too low. Try whole milk and make sure you hit the 60 to 65 Celsius band. Foam that is coarse and bubbly means too much air got in. Cut the agitation time by a few seconds and tap the pitcher on the counter to pop the big bubbles. Foam that smells burnt means you blew past the scald line, and no amount of technique will fix that one.
A gritty or grainy texture signals milk that was overheated and had its proteins clump together. Start again with fresh milk. None of these problems are mysterious. They are all the same three levers moving in the wrong direction.
The Practical Takeaway
The science reduces to a handful of levers. Use milk with enough protein and fat, heat it to the 60 to 65 Celsius band, stop before it scorches, and pick a tool whose agitation matches the texture you want. For a dense, glossy microfoam that holds on a flat white, a jar style automatic steamer in the 300 to 350 milliliter class is the right machine. For a quick everyday foam, a handheld wand gets the job done.
None of this requires a lab. It requires the habit of paying attention to what the milk is doing, which is exactly the skill that turns a home pour into a cafe one. Master the heat and the proteins, and the rest is just pouring.
SIMPLETASTE Milk Frother, 4-in-1 Electric Automatic Milk Steamer
Related Essays

BIZEWO F1 Milk Frother: Your Guide to Perfect Cafe-Style Drinks at Home

Zulay Executive Series Milk Frother: Create Cafe-Quality Foam at Home

Modena MF-BLK Handheld Milk Frother: Your Secret to Perfect Lattes at Home

The Perfect Swirl: Unveiling the Science, Culture, and Craft Behind Your Morning Cappuccino

Your First Espresso Machine, Beginner Guide

Swan Nordic Espresso Machine 15 Bar Pressure & Milk Frother Guide
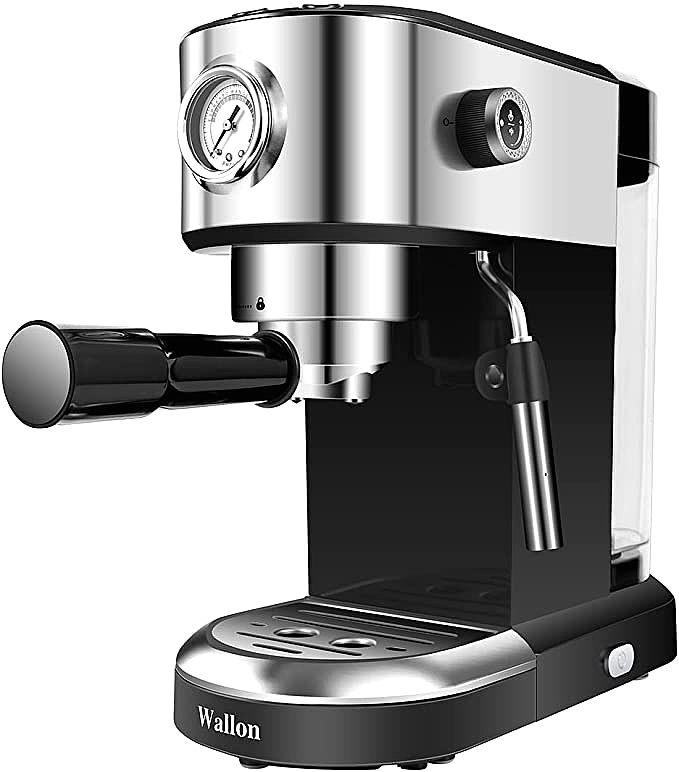
Wallon EM3105 Espresso Machine: Unlock Barista-Quality Coffee at Home
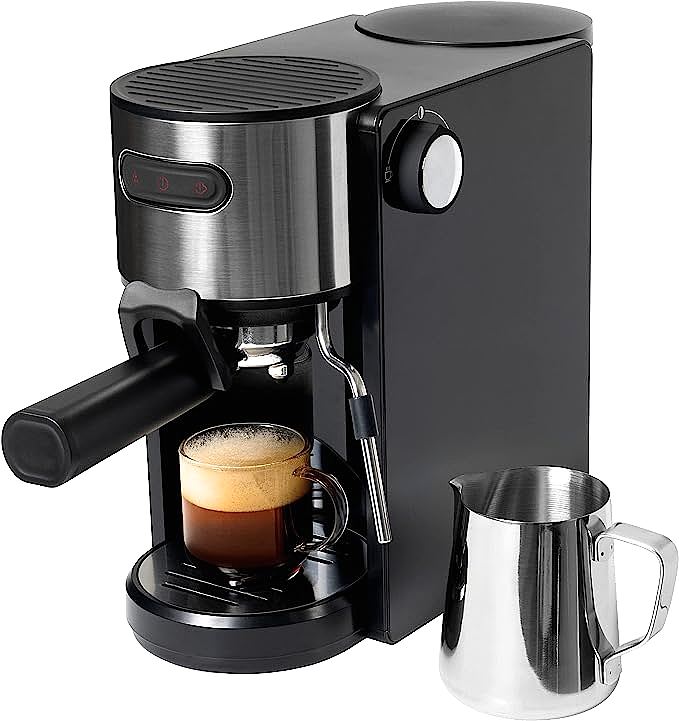
Willow & Everett Espresso Machine: Your Home Barista for Perfect Espresso & Cappuccino

GREECHO DS-M05 Milk Frother: Create Cafe-Quality Foam at Home
