bonVIVO Intenca Stovetop Espresso Maker: A Practical Guide to Heat, Pressure, and Flavor
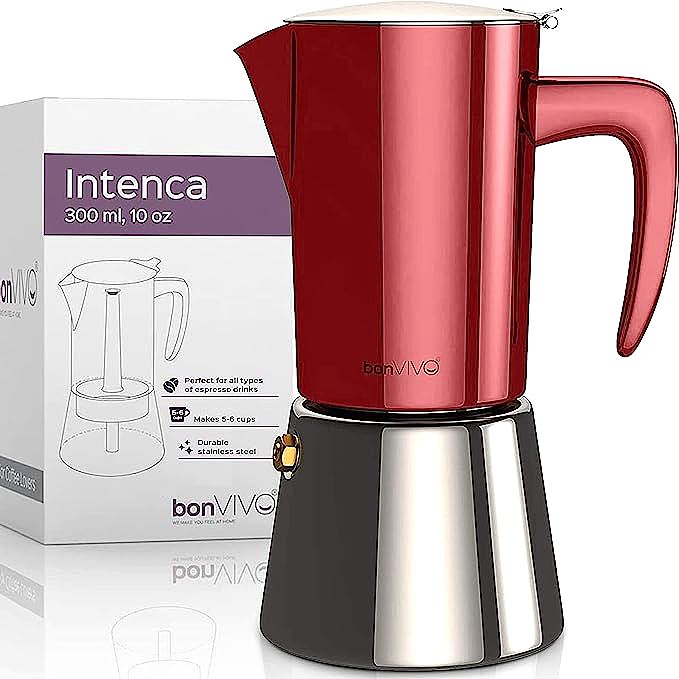
bonVIVO Intenca Stovetop Espresso Maker
The Intenca sits on the burner at 7:15 AM, its stainless steel base already warming. Water in the bottom chamber begins to shimmer. Within 2 minutes, the first dark drops of espresso appear in the upper chamber. By 7:18 AM, 6 cups of full-bodied coffee rest in the collection chamber, ready to pour. This is the daily ritual that the bonVIVO Intenca Stovetop Espresso Maker was designed to serve, and understanding how it works makes the ritual more reliable.
The Intenca functions as a three-part stovetop brewer with a total capacity of 10 oz (about 300 ml), measured in 6 demitasse servings of roughly 50 ml each. Its body is constructed from stainless steel with a hard-wearing chrome finish, weighing 2 lbs and standing 7.9 inches tall with a 6.3 inch width and 4.3 inch depth. The ASIN B096MTNZ9H identifies the model on Amazon, where it holds a 4.5 out of 5 star rating across 4,332 customer reviews. The price point of $29.99 places it between budget aluminum moka pots and premium electric machines.
How the Three Parts Work Together
Three stacked parts define how this stovetop espresso maker works. Water starts in the lower vessel, which rests on the burner. A funnel-shaped basket filled with ground coffee sits between the water and the upper pot, and a narrow riser tube drops from that basket into the water below. Once pressure builds, the brewed liquid climbs the riser into the top chamber, where it collects until you pour. Alfonso Bialetti's 1933 moka pot introduced this same stacked arrangement, and it has survived because each part has a job the others depend on.
Conduction: How Heat Moves Through Metal
Steam cannot form until heat crosses the metal wall. The dominant path for that heat transfer is conduction, where vibrating atoms hand thermal energy to their neighbors without any bulk movement of the material. Flame or coil energy lands on the outside of the lower vessel, migrates through the wall, and finally meets the water on the inner surface.
Materials differ enormously in how readily they pass heat, and the number that captures this is thermal conductivity. Copper sets the benchmark at 400 W/mK, which is why it appears in the best cookware. Aluminum lands near 205 W/mK, roughly half of copper's figure but still quick enough for a kitchen pot. Stainless steel trails far behind at 16 W/mK. The gap is enormous: heat crawls through steel about 25 times slower than through copper and 13 times slower than through aluminum.
The bonVIVO Intenca Stovetop Espresso Maker answers slow conductivity with mass. Its base plate measures 4-6 mm thick, and that slab spreads the burner's energy sideways before it can move upward into the water. More surface area ends up doing the absorbing work, so the pot warms gradually instead of jumping between hot and cool spots.
Phase change: the engine that drives extraction
Everything in a moka pot turns on one physical event: water boiling into vapor. Boiling swallows energy without moving the thermometer. Take a single gram of water already at 100 degrees Celsius; turning that gram into steam at the same temperature costs 2,260 joules. That figure, the latent heat of vaporization, dwarfs the energy needed to warm the same gram from freezing to boiling.
Because the lower vessel seals shut, the vapor it produces cannot simply escape. Pressure therefore climbs, and the boiling point climbs with it. Only when enough pressure exists to push through the packed coffee does water make the trip. Depending on the basket geometry and how firmly the grounds sit, this happens somewhere in the 105-115 degrees Celsius range, hotter than anything a drip machine or French press uses.
Vaporizing water is the burner's real job, and only part of the load needs to boil: roughly 10-20 percent of the water turns to steam during a normal cycle, with 15 percent a good working target for balanced pressure. Err on the weak side and the vapor arrives so slowly that the flow through the grounds stays cool and thin, which shows up as a sour, under-extracted cup. Err hot and the burst of steam shoves water through the bed before it can extract properly, dragging out harsh, bitter compounds instead.
Material Choice on the bonVIVO Intenca Stovetop Espresso Maker
Picking between aluminum and stainless steel is a thermal decision before it is a cosmetic one. How quickly a metal carries heat shapes the brew in ways you can taste, so the material deserves a closer look than its price tag or finish.
Aluminum has carried the moka pot tradition since the 1930s because it warms fast and weighs little. A light pot with a heat-resistant handle is easy to lift and pour, and high conductivity shortens the wait for the first cup. The trade-offs show up later: coffee acids attack the surface, leaving a patina that can add a faint metallic edge, and the metal demands hand washing because dishwasher detergent speeds up the dull gray oxidation it develops over time.

Stove Types and Their Thermal Signatures
Each burner type talks to the pot in its own dialect, and the differences are big enough to change your results. A gas flame wraps the base in radiant and convective heat that answers the knob instantly. That same immediacy cuts both ways. Precise control is available, but only for a brewer who stays present; look away for a moment and the flame can push past the useful range, spiking pressure and hurrying the extraction.
Coil elements carry momentum. Even after you dial the power down, the glowing metal keeps releasing what it stored, so the pot continues to take on heat for a while. The tail end of a brew feels this most: after the switch clicks off, steam can keep forming for another 10-20 seconds. On an electric stove the reliable move is to lift the pot clear of the burner at the first gurgle instead of trusting a lower setting.
Induction works by a different route entirely: the cooktop's magnetic field stirs current inside the pot's own base, so the vessel becomes the heating element and no surface between them gets hot first. Response is quicker than gas, and the energy spreads almost perfectly across the bottom. The catch is metallurgical, since a magnetic base is mandatory and plain aluminum is ruled out unless a steel plate is bonded into it. For a magnetic stainless pot, induction delivers an unusually steady and immediate heat source.
Glass-ceramic belongs between those extremes. Its hidden element behaves much like a coil, and the glass pane on top adds a second layer of lag. A practical habit here is to give the burner about a minute on medium before setting the pot down, so the surface is already warm when the metal arrives.
Thermal Mass and Temperature Stability
Thermal mass is simply how much heat a thing holds. Compare a cast-iron skillet with a sheet pan and the idea lands: the skillet soaks up far more energy before its temperature shifts. In brewing gear, extra mass translates into a steadier temperature through the extraction.
A heavy pot pays for its stability up front, needing more energy before any real warming begins. The payoff comes afterward, because the same mass that delayed the climb also slows the fall. When burner output wobbles, a frequent event on a gas stove in a drafty room, the stored heat in the metal absorbs the shock, and the water holds nearer its target instead of tracking every flicker of flame.
Most of that ballast lives in the base plate. At 4-6 mm thick, it holds enough reserve to keep the water boiling steadily while vapor keeps pulling energy away. Skip the buffer and the boiling itself would chill the system in pulses, dragging the brewing pressure up and down with it. Think of the plate as a flywheel for heat.
Temperature Profiles and Flavor Extraction
Brewing coffee is extraction by solvent, and temperature decides which compounds leave the grounds and how fast. Roasted coffee carries over 800 volatile aromatic compounds plus organic acids, sugars, oils, and bitter alkaloids, and each family dissolves on its own curve. The window that suits most methods sits at 90-96 degrees Celsius, with 92 degrees a reliable midpoint for typical roasts. Cooler water pulls the pleasant material out too slowly and leaves a thin, sour cup; hotter water strips caffeine and bitter chlorogenic acid fragments along with everything else, which reads as harshness.
On the stovetop, that temperature is a moving target rather than a fixed setting. The leading edge of water reaches the grounds at just 70-80 degrees Celsius and keeps climbing. Those first cooler seconds pull out the fragile aromatics (floral notes, fruity esters, delicate spice) that heat would otherwise destroy. Across the next 60-90 seconds the rising heat switches the extraction toward the heavier crowd: chocolate, roasted grain, and caramelized sugars that give the cup its weight.
Managed well, that climb is an asset. Because the temperature crosses several bands in one brew, a single cup can carry both the bright top notes and the deep, chocolatey base. The variable under your control is pace: the bed needs enough contact time with the water as each temperature band goes by. Push the ramp too fast and the lower-temperature window flashes past, leaving a flat, bitter profile. Let it crawl and the final stage over-extracts, burying the delicate early notes under bitterness.
The pot itself decides how steep that ramp becomes. Quick-heating metal sends the water from 80 to 95 degrees in well under a minute; a slower design stretches the same climb across two minutes or more. Which pace is better depends on the beans: dense light roasts reward a gentle climb that lets their tight cellular structure give up solubles gradually, while porous dark roasts can keep up with a faster rise.

Reading the Signals During Brewing
Consistency comes from learning to read the pot while it works. Sound and timing report what is happening inside, and the transparent lid keeps the flow in view, so adjustments can happen in the moment without opening anything or reaching for a thermometer.
Signal one is a hiss. It arrives as water in the lower vessel nears boiling; wisps of steam begin slipping past the grounds and the seal between the two halves, marking the start of active brewing. Treat the gap between setting the pot down and hearing that hiss as a heating-rate gauge: with a room-temperature pot and a sane burner setting, expect 60-90 seconds for a 6 cup capacity. Much faster means the heat is too aggressive; much slower means the flame is too timid.
Signal two arrives when coffee first appears in the top chamber. The healthy version is a slow, dark ribbon, honey-like, that fills the vessel gradually. Erratic spurts tell you pressure is building unevenly, typically because water has found a low-resistance channel through the bed. A thin, pale trickle points to water that is too cool or grounds that are too coarse, both of which leave the extraction unfinished. For a practiced eye, the first 10 seconds of that stream say more about the brew than a stopwatch or a temperature probe ever could.
Signal three is a change in the sound itself: the steady gurgle gives way to a halting, sputtering bubble. At that instant the lower vessel has nearly emptied of liquid and steam is racing through the bed and up the riser without anything slowing it. Get the pot off the heat within seconds. Wait longer and the same steam, now superheated, scours the spent grounds and drags out burnt, harsh compounds that undo everything the brew built until then.
Grind, Fill Level, and Heat: The Practical Adjustments
Three adjustments drive most of the outcome: grind size, water fill, and burner intensity. Start the grind coarse, near but not at espresso texture, because coarse grounds slow the flow; finer ones rush it and turn the cup bitter. Fill only to the line below the safety valve, since an overfilled chamber can force raw water up the tube when the valve releases early; that valve caps internal pressure around 15 psi, well under the levels a commercial espresso machine reaches. For heat, choose medium rather than high and let the flow answer back: sluggish, nudge it up; racing, ease off. Most guides settle on medium or lower, and on pulling the pot at the first sputter, because the burner's stored heat finishes the job.

Fixing the Common Brew Problems
Diagnose by taste and sound. A weak, watery cup usually means too little water, grounds left too coarse, or a flame that never got serious. Bitterness and a burnt edge point the other way: heat set too high, or the pot left on the burner past the sputter. When the pot hisses but coffee barely rises, check the gasket, make sure the upper chamber seats flush, and clear debris from the vents and the water reservoir. The stainless body and removable basket rinse clean in warm water; dry them and the gasket after each use, and skip abrasive pads that dull the chrome finish.
Count the whole cycle, from setting the cold pot down to lifting the finished brew off the burner, at 3-5 minutes, with 4 minutes a fair average across stove types, pot materials, and room temperature. In that short span, water changes phase, pressure climbs toward 1.5 atmospheres, and hundreds of flavor compounds leave the grounds. Push-button machines hide all of this behind plastic and displays; the stovetop leaves it in plain view. You hear the boil arrive, watch pressure do its work, and taste decisions made seconds earlier. Knowing what happens inside does not spoil the cup. Tracing how a flame becomes an aromatic coffee, if anything, deepens the pleasure of the daily ritual.
bonVIVO Intenca Stovetop Espresso Maker
Related Essays


Ilsa 3 Cup Stainless Moka Pot

Alessi Moka Pot Guide: Design Meets Pressure Brewing

Why the Metal in Your Moka Pot Matters: A Guide to Stainless Steel Espresso
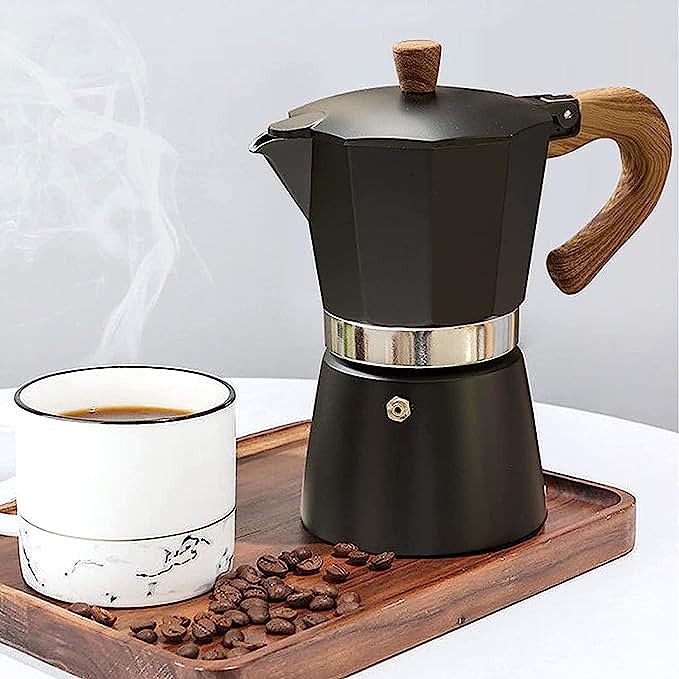
The Physics of Flavor: Deconstructing the Moka Pot
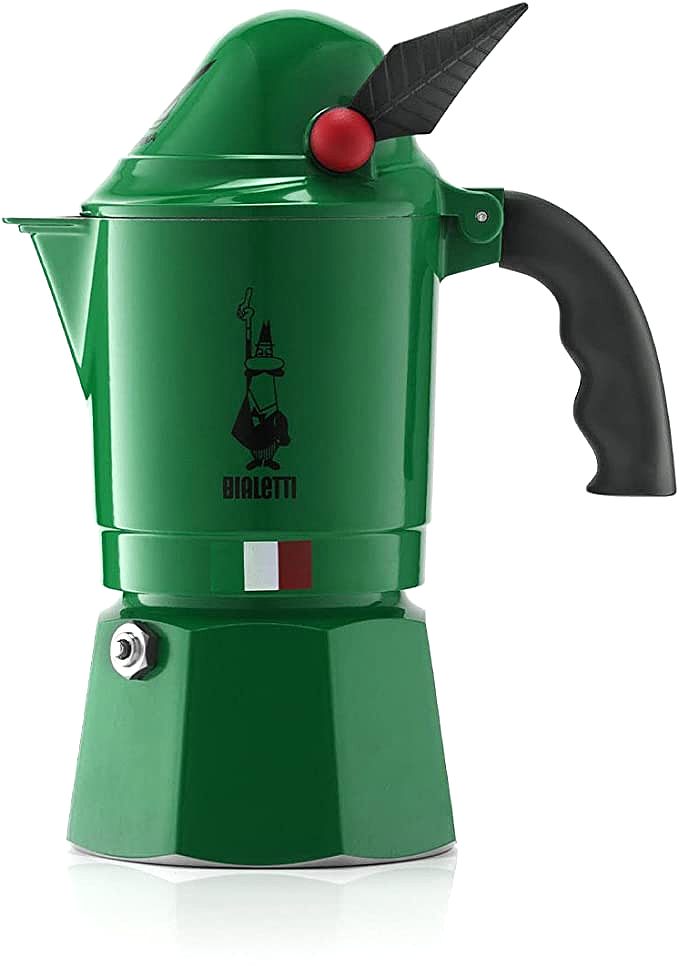
Bialetti Moka Express Alpina: a green three-cup moka pot

Induction stovetop espresso maker: the Bialetti Venus 6-cup on a magnetic hob

Dominican Greca Coffee: Cafecito Brewing Steps and Pot Care

SIXAQUAE Moka Induction Stovetop Espresso Maker: Brewing Perfect Espresso with Science